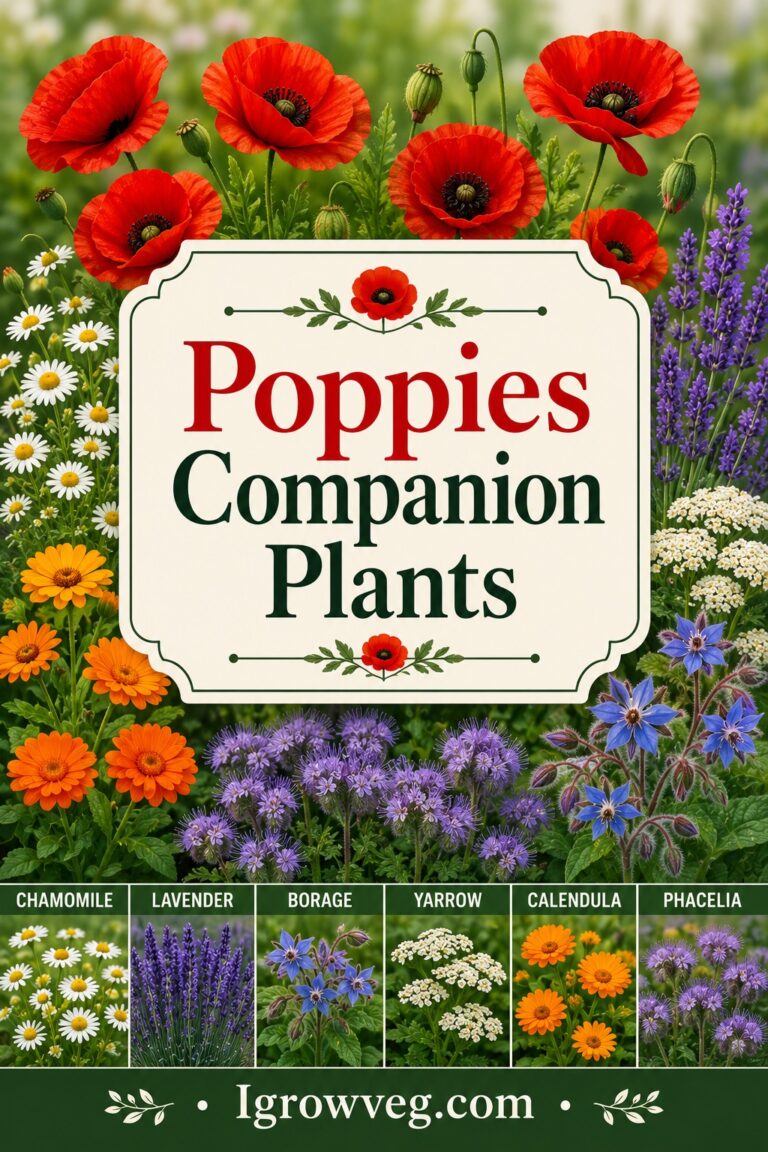
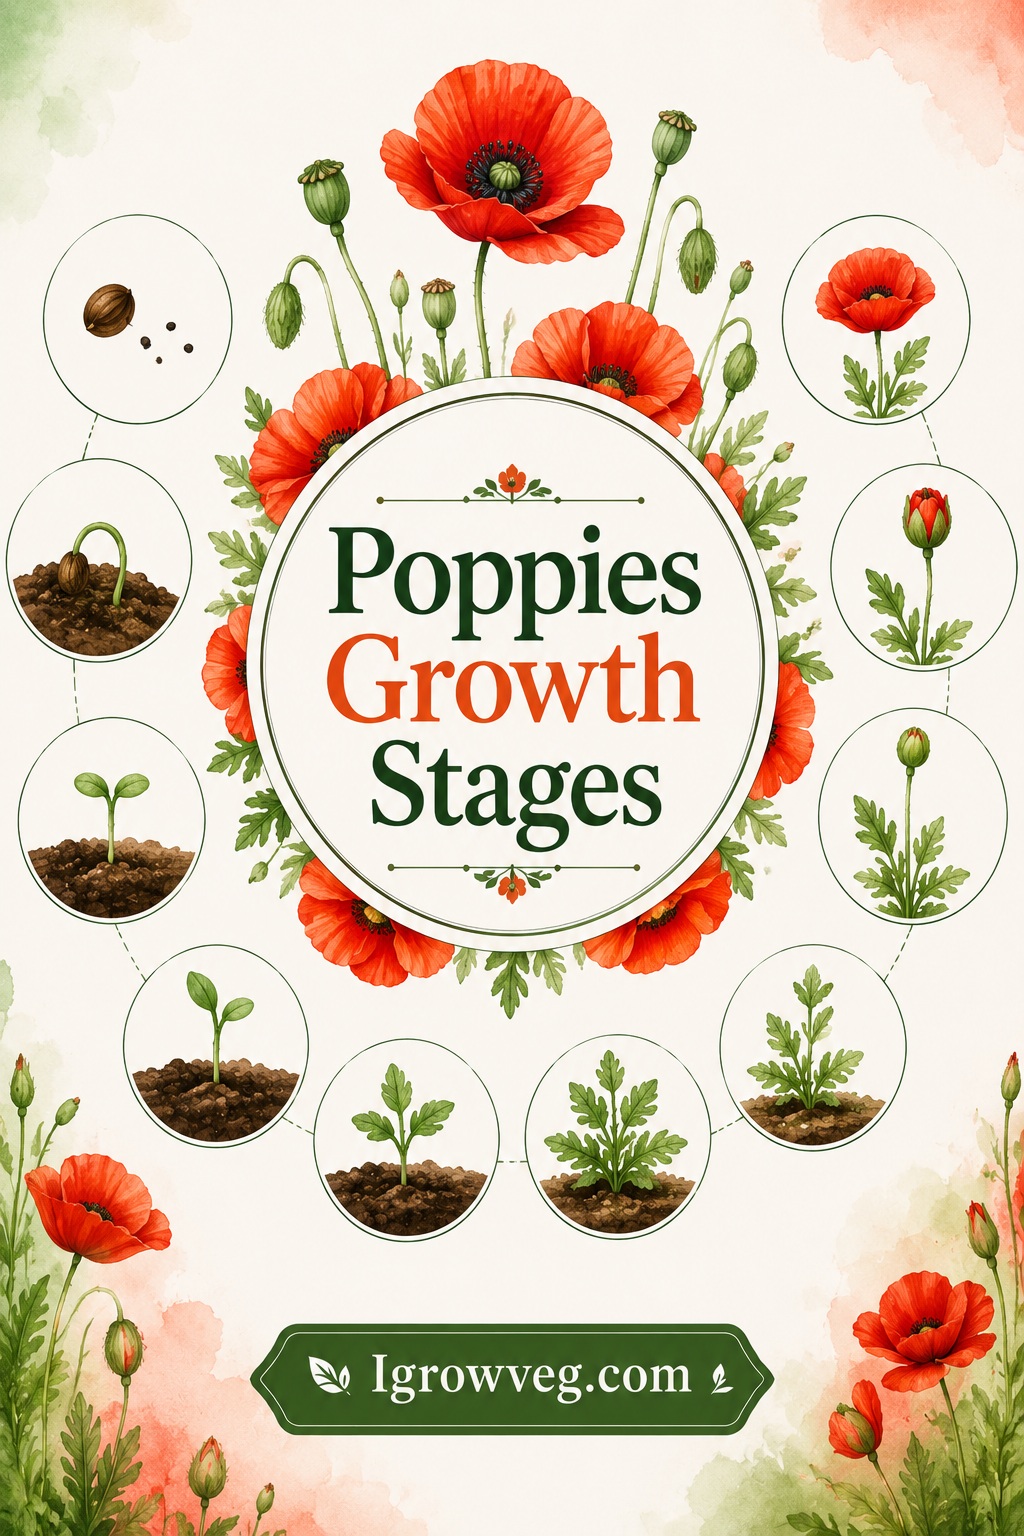
Poppies (Papaver spp.) are among the most evocative flowers in the world, ranging from the delicate, crinkled petals of the Shirley poppy to the bold, architectural presence of the Oriental poppy. While they are often viewed as wildflowers that thrive on neglect, understanding the specific poppies growth stages is essential for any gardener looking to cultivate them intentionally. Whether you are interested in poppy propagation from seed or testing your skills by growing poppies indoors, success depends on mimicking the cool-season conditions these plants crave.
1. The 5 Essential Poppies Growth Stages
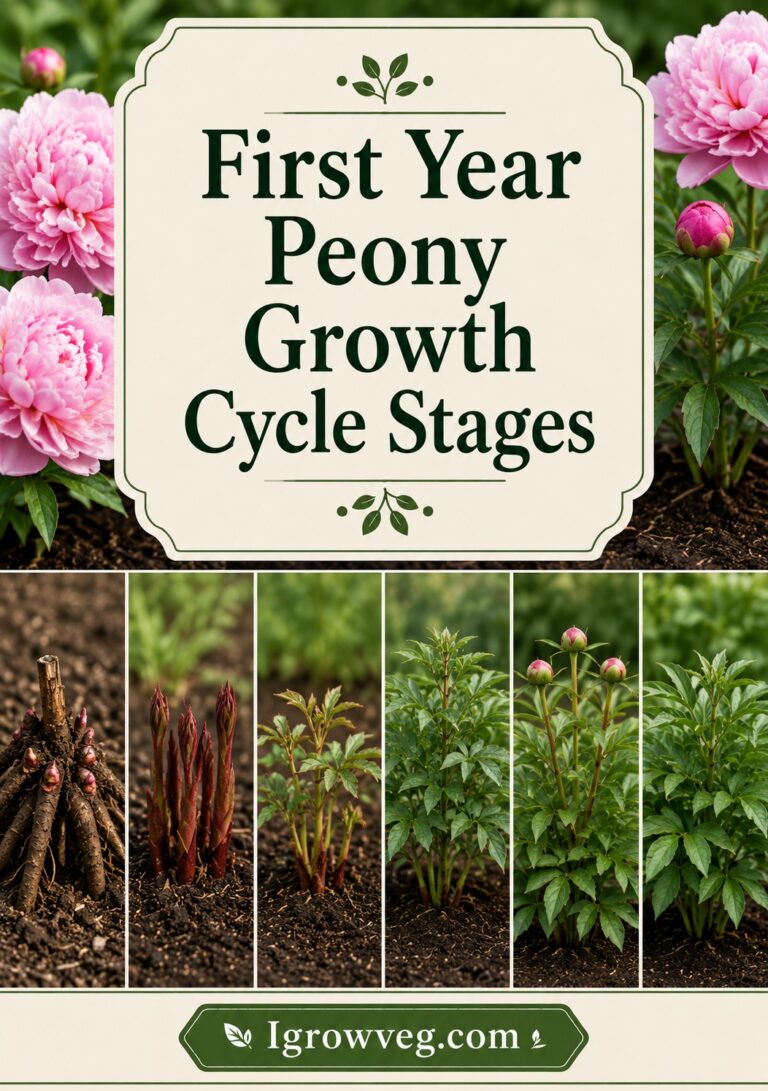
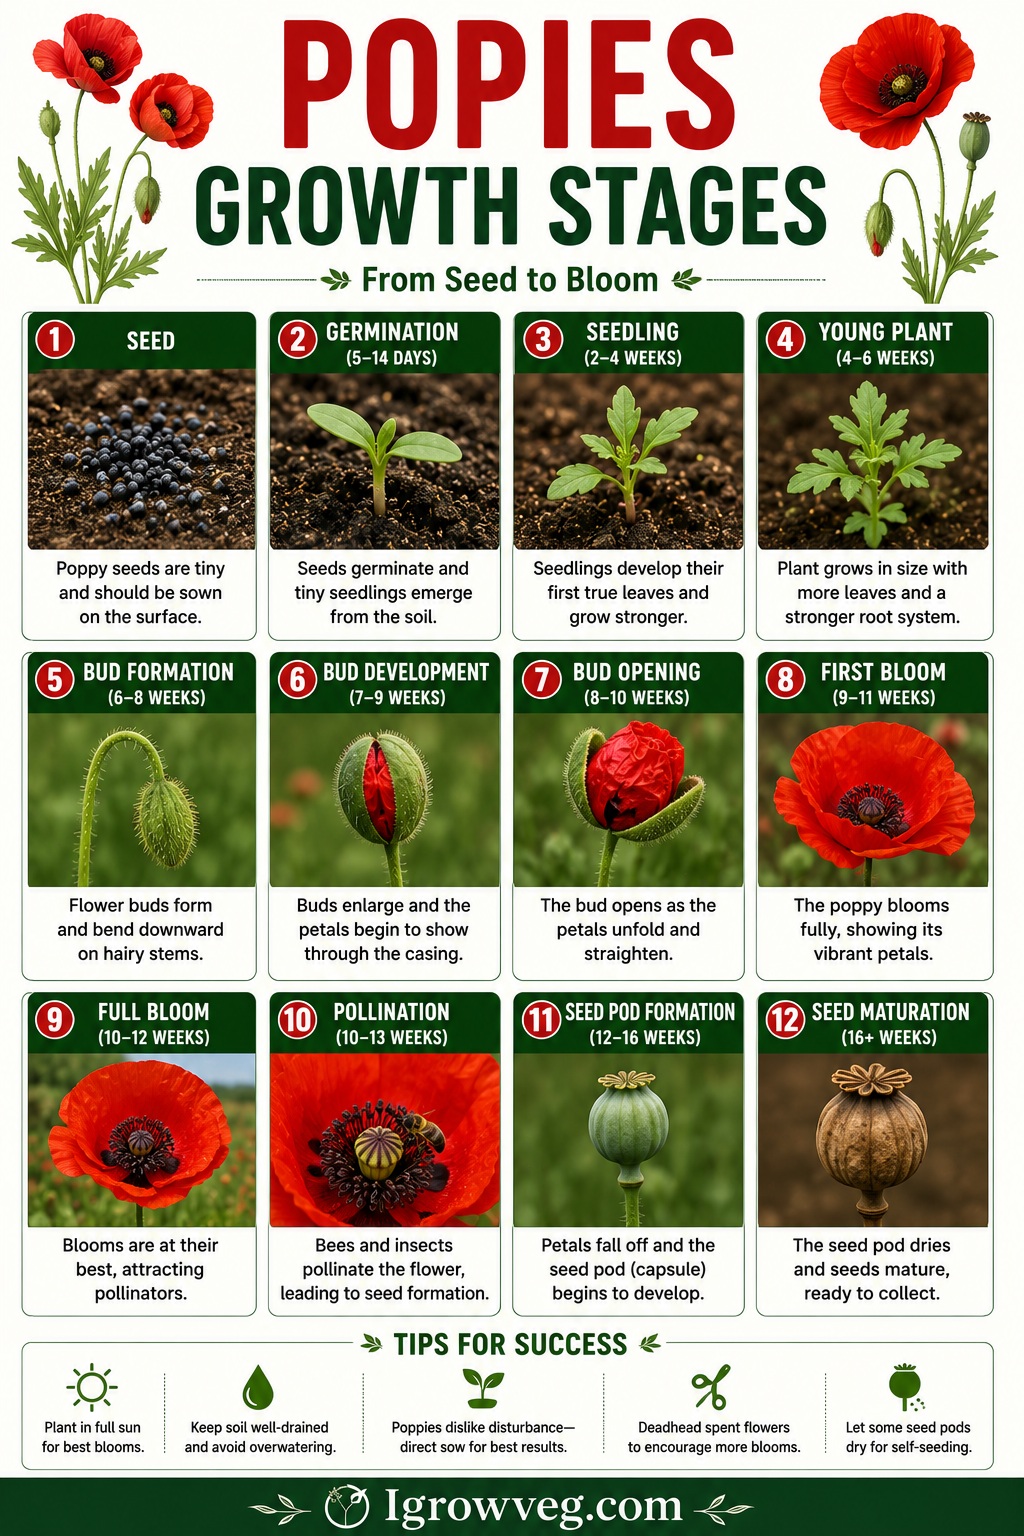
Understanding the life cycle of the poppy allows you to intervene at the right time with water, thinning, or support.
Stage 1: Germination (The Cold Trigger)
Poppies are unique because they require a period of cold stratification—a “chill” to wake up from dormancy. Once sown on the soil surface (they require light to germinate), the seeds absorb moisture. Within 10 to 21 days, depending on the variety and temperature, the first tiny “dicot” leaves appear. At this stage, the seedlings are incredibly delicate and prone to “damping off” if the air is too stagnant.
Stage 2: The Seedling and Root Establishment
During this phase, the poppy focuses its energy downward. Poppies are famous for their deep taproots, which allow them to find water in dry conditions. Above ground, the plant develops its first set of true leaves, which often have the signature bluish-green, fuzzy, or jagged appearance. This is the critical time for thinning; if poppies are crowded, they will remain stunted and fail to bloom.
Stage 3: The Rosette Phase
As the plant matures, it forms a basal rosette—a cluster of leaves growing close to the ground. In many perennial varieties, like the Oriental poppy, the plant may stay in this rosette phase for several months or even a full year before it has the energy to bolt. This is the stage where the plant builds the nutrient reserves necessary for flowering.
Stage 4: Bolting and Budding
Triggered by increasing day length and temperature, the poppy sends up a central stalk (bolting). At the tip, a heavy, nodding green bud forms. In many species, the bud is covered in coarse hairs. As the flower inside expands, the bud eventually turns upright, and the green sepals drop away to reveal the crumpled petals inside.
Stage 5: Flowering and Seed Set
The bloom stage is spectacular but often brief. Once the petals fall, the central ovary swells into the iconic “poppy pod.” If left on the plant, the pod dries, and small pores open at the top, allowing the wind to scatter thousands of seeds, effectively completing the cycle of poppy propagation for the following year. For a botanical look at seed dispersal, Kew Royal Botanic Gardens offers excellent resources on Papaver biology.
2. Poppy Propagation: Methods for Success
Propagating poppies is primarily done through seeds, though some perennial varieties can be divided.
- Direct Sowing (The Gold Standard): Because poppies have a sensitive taproot, they do not like being moved. Most gardeners have the best luck sowing seeds directly outdoors in late autumn or very early spring. Scatter them on the surface and press them in lightly, but do not cover them with soil.
- Root Cuttings: For perennial Oriental poppies, propagation can be achieved via root cuttings in late summer. This involves taking a 3-inch section of the root and planting it vertically in a gritty compost mix. This method ensures the new plant is a genetic clone of the parent.
- Division: This should only be done with mature perennial clumps during their dormant period (usually late summer after flowering). Use a sharp spade to divide the taproot vertically, ensuring each section has a piece of the crown.
3. Growing Poppies Indoors: A Challenging Reward
Growing poppies indoors is often considered difficult because poppies hate heat and root disturbance. However, with the right setup, it is entirely possible to enjoy these blooms inside.
The Setup: Lighting and Temperature
Poppies are “long-day” plants, meaning they need 14–16 hours of light to bloom. Indoors, you will need high-quality LED grow lights placed just a few inches above the seedlings. Keep the room cool; poppies will struggle in a heated home. A bright, unheated sunroom or a basement with temperature control (aiming for 55–65°F) is ideal.
Choosing the Right Pot
Use biodegradable peat pots or cow pots. This is the “secret weapon” for indoor poppy growing. Because you cannot transplant a poppy without risking its life, you must plant the entire biodegradable pot into a larger decorative container once the roots begin to show through. This prevents “transplant shock,” which is the most common cause of indoor poppy failure.
Soil and Water
Use a well-draining, sandy potting mix. Avoid heavy, moisture-retentive peat mixes that can cause the taproot to rot. Water from the bottom to keep the foliage dry, and ensure the pot has excellent drainage holes. For professional tips on indoor seed starting and light requirements, The Old Farmer’s Almanac provides detailed indoor gardening charts.
Summary Table: Poppy Care by Stage
| Growth Stage | Key Requirement | Common Pitfall |
| Germination | Light and Cold | Covering seeds with soil. |
| Seedling | Thinning (6-12″ apart) | Crowding, which causes stunting. |
| Rosette | Consistent Moisture | Overwatering in heavy clay soil. |
| Budding | High Light/Nutrients | Lack of sun leading to “weak” necks. |
| Dormancy | Dry Conditions | Watering perennial poppies in late summer. |
Potential Challenges
- Damping Off: A fungal disease common in indoor seedlings. Improve air circulation with a small fan.
- Aphids: These can cluster on the juicy flower stalks. Use a gentle spray of water or neem oil to manage them.
- Powdery Mildew: Common in humid environments. Ensure your indoor poppies are not crowded and have low humidity. For integrated pest management solutions, The Missouri Botanical Garden is a fantastic diagnostic resource.
Conclusion
Mastering the poppies growth stages is the difference between a random wildflower patch and a curated garden of stunning blooms. By respecting the plant’s need for cold germination and its sensitive taproot during propagation, you can ensure a successful transition from seed to pod. While growing poppies indoors requires extra attention to light and temperature, the sight of a vibrant poppy unfolding in a sunroom is a reward well worth the effort. Whether in the ground or in a pot, the poppy remains a symbol of resilience and ethereal beauty.
FAQ: Frequently Asked Questions
1. Can I transplant poppies from my garden into a pot?
It is very difficult. Their taproots are extremely sensitive. It is better to start them from seed in the pot where they will stay.
2. Why are my indoor poppies falling over?
They likely aren’t getting enough light. “Leggy” seedlings are stretching for the sun. Move your grow lights closer or increase the duration of light.
3. Do poppies bloom in their first year?
Annual poppies (like California or Breadseed) bloom in their first year. Perennial poppies (like Oriental) usually take 2-3 years to bloom from seed.
4. How often should I water poppies?
Keep the soil moist during germination and the seedling stage. Once established, poppies are quite drought-tolerant and only need water during dry spells.
5. Do I need to fertilize poppies?
They aren’t heavy feeders. A light application of compost or a balanced organic fertilizer in early spring is usually enough.
6. Can I save seeds from my poppies?
Yes! Wait until the pod is brown and rattles when shaken. Store the seeds in a cool, dry place until the following spring.
7. Why didn’t my poppy seeds germinate?
The most common reasons are that they were buried too deep (they need light) or the soil was too warm (they need a cold period).